So, you’re deep into the world of nail art, creating tiny masterpieces on your fingertips. You’ve mastered brushes, gels, and maybe even acrylics. But there’s a buzzing little tool that promises to take your creations to the next level: the electric nail drill. Intrigued, maybe a little intimidated? Fear not! Let’s break down what it is, how to choose your perfect match, and how to use it safely and effectively.
What Exactly Is an Electric Nail Drill?
Think of it as a high-speed, precise filing system for your nails. Unlike the manual emery boards and buffers you’re used to, a nail drill uses a small electric motor to spin specialized attachments (called bits) at varying speeds. It’s not a chainsaw for your nails! When used correctly, it’s a tool for finesse and efficiency.
Here’s what it helps you do:
- Prep Powerhouse: Effortlessly remove old gel polish or acrylic overlays (much faster and cleaner than soaking and scraping!).
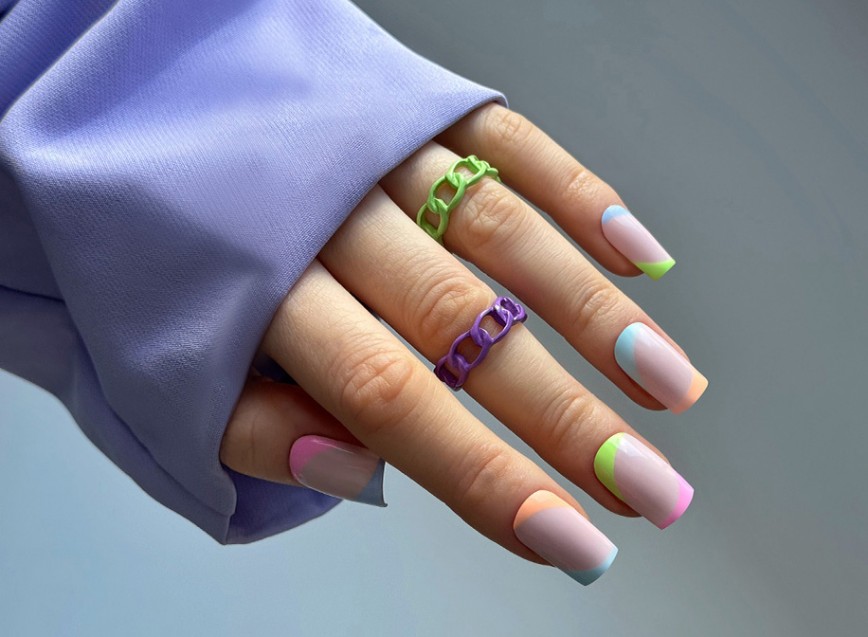
- Shape & Refine: Precisely shape natural or artificial nails to your desired length and contour (square, round, coffin, almond – you name it).
- Cuticle Care (Gently!): Safely and gently buff away excess dead cuticle tissue (hyponychium) around the nail plate for a cleaner look (requires specific bits and technique!).
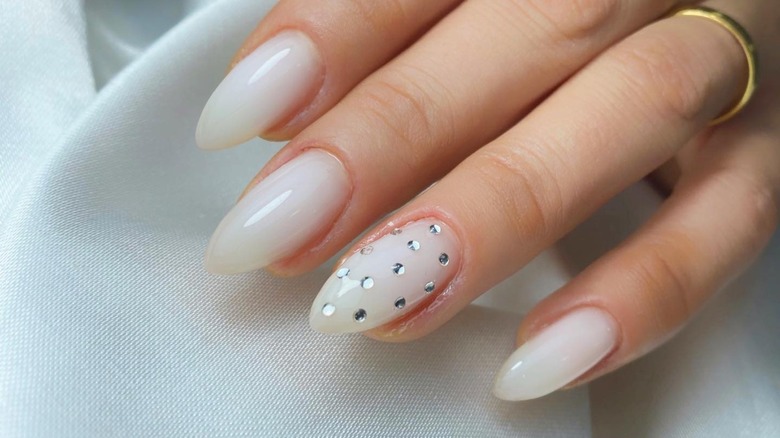
- Surface Smoothing: Buff out ridges on the natural nail plate for a flawless base before applying polish or gel.
- Detail Work: Certain fine bits can help refine intricate nail art designs or clean up edges.
Choosing Your Nail Art Companion: Key Criteria
Not all drills are created equal! Here’s what to look for as a home enthusiast:
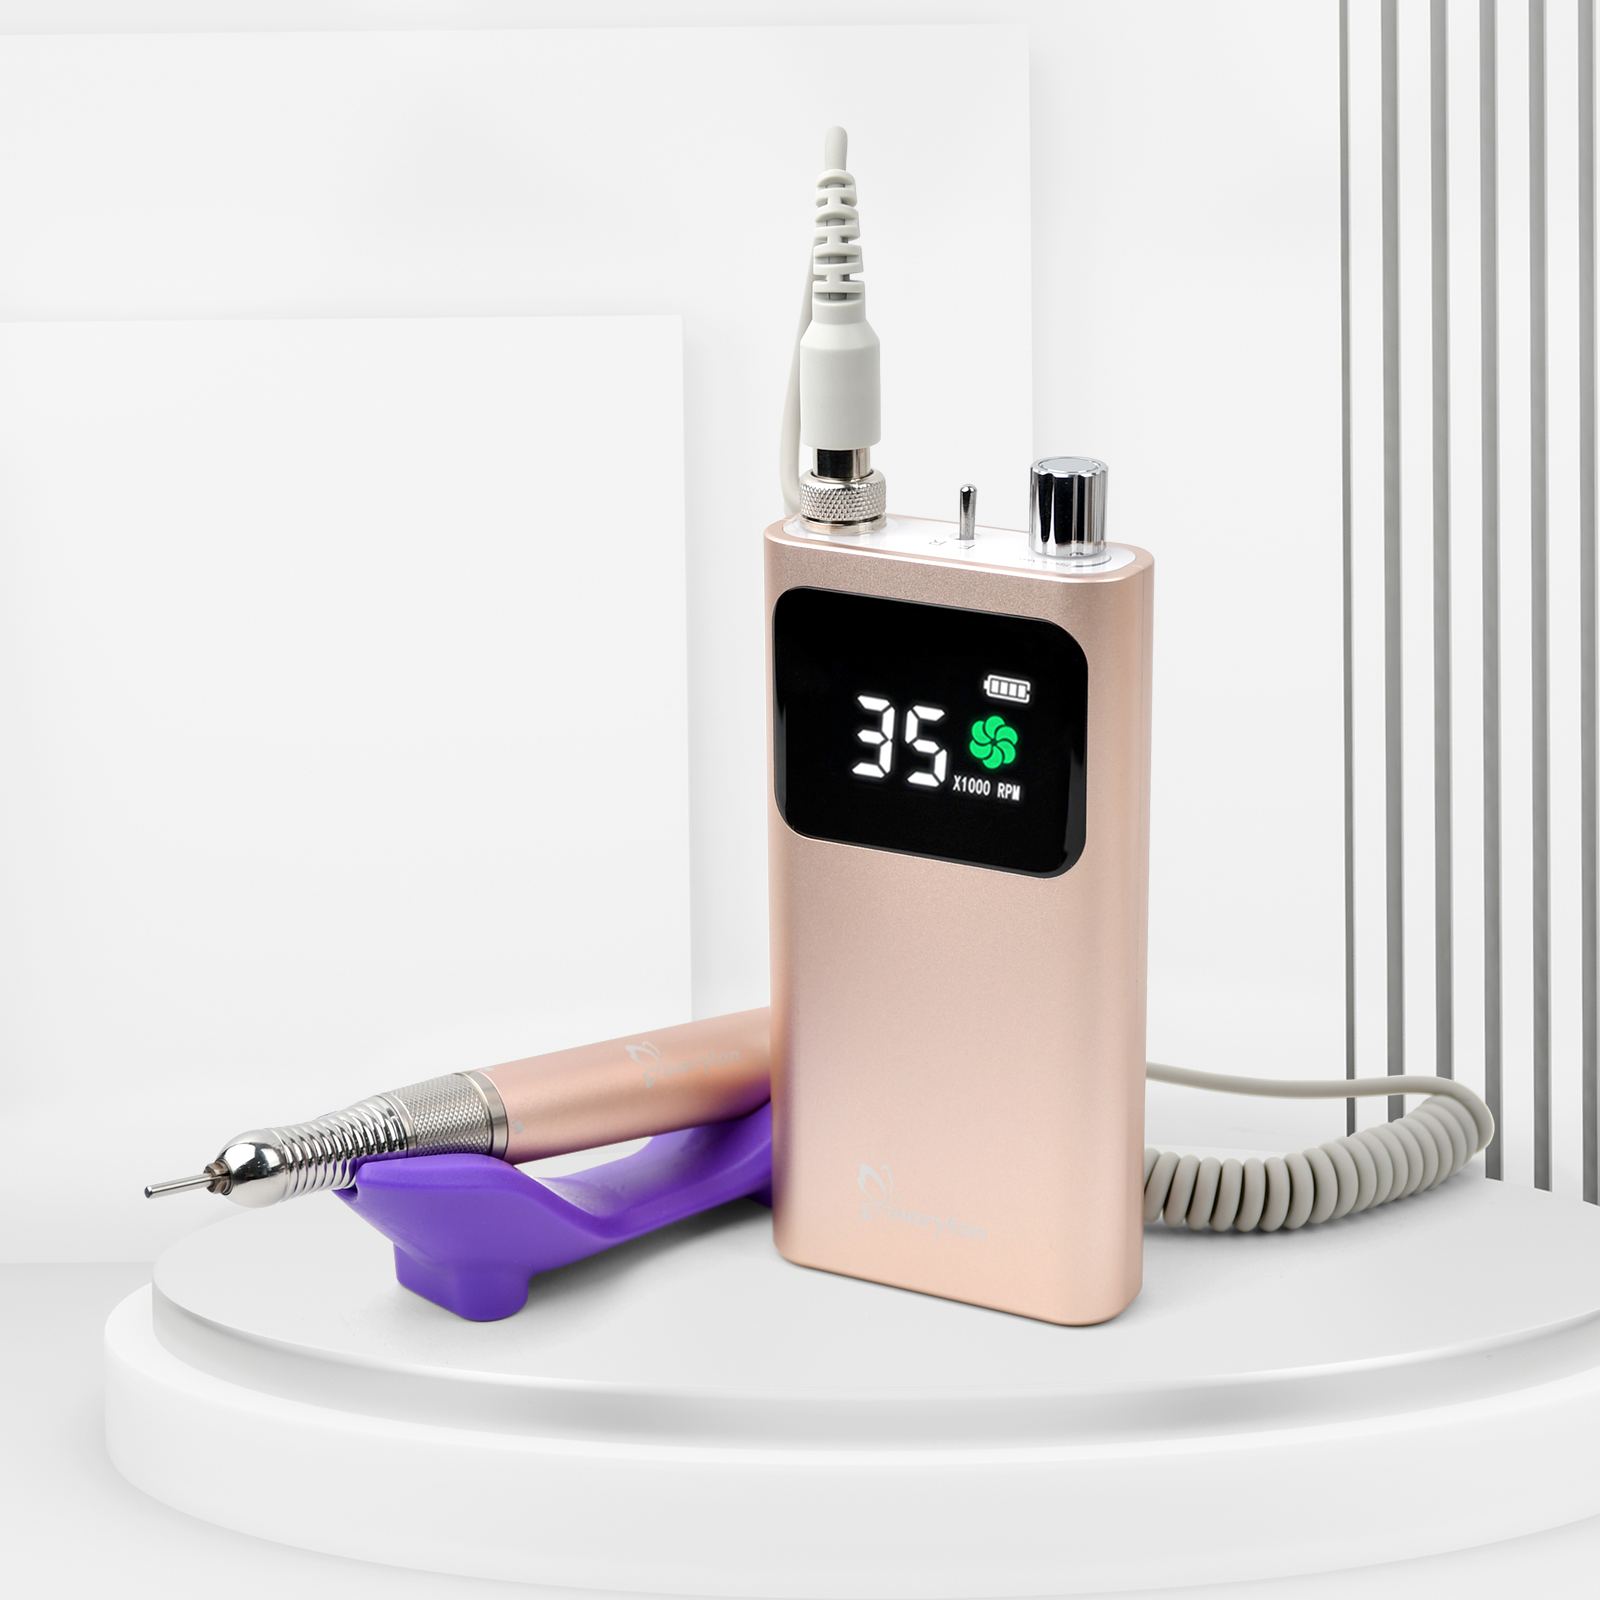
1. Variable Speed Control: You need precise control over the drill’s RPM (rotations per minute). Low speeds (0-5,000 RPM) are for delicate cuticle work and fine detailing. Medium speeds (5,000-15,000 RPM) handle most shaping and surface smoothing. High speeds (15,000-30,000+ RPM) are mainly for professionals removing thick acrylic/gel.
2. Low Torque: Torque is the turning force. High torque is needed for pros removing hard materials quickly. For home use, LOW torque is safer and more forgiving. It means the drill bit will stall or slow down if you apply too much pressure accidentally, significantly reducing the risk of damaging your natural nail.
3. Forward/Reverse Function: While not essential, reverse is handy. It can help dislodge dust from certain bits or provide a different filing feel. It’s more of a “nice-to-have” than a must for beginners.
4. Comfort & Weight: You’ll be holding this tool for periods. Choose one that feels comfortable and balanced in your hand, not too heavy or bulky. Look for ergonomic designs.
5. Portability & Noise: Cordless drills offer freedom of movement. Consider battery life. Some drills are quieter than others – if noise is a concern for you.
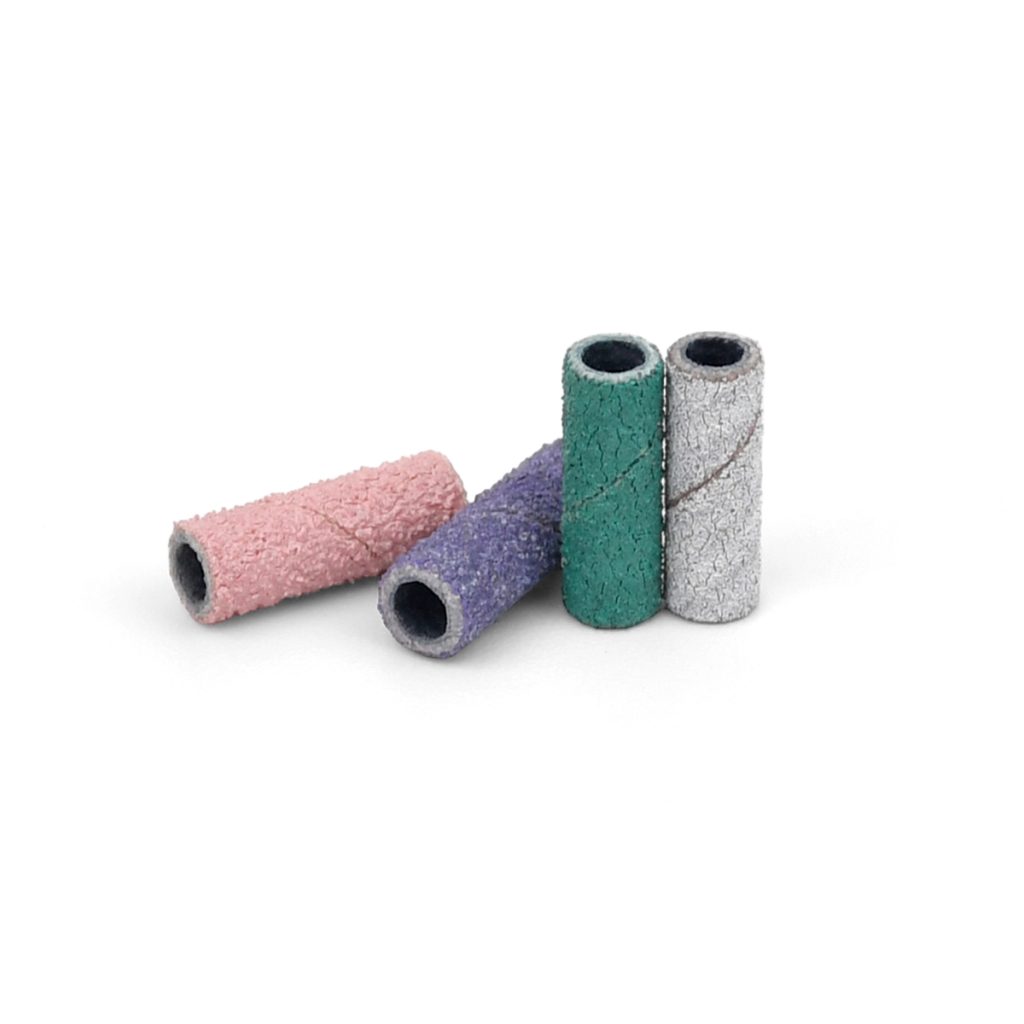
6. Accessories & Compatibility: Most drills come with a basic set of bits. Ensure it uses standard 3/32″ (2.35mm) shank bits, the most common size. Look for kits that include versatile bits like:
- Fine/Medium Grit Sanding Bands: General shaping & smoothing.
- Carbide Bits: Efficient removal of gel/acrylic (use carefully!).
- Diamond/Ceramic Bits: Smoother finishing, gentle cuticle work (different grits available).
- Mandrel/Shaft: Mini sanding bands.
Mastering the Buzz: Essential Usage Tips
Safety and technique are paramount! Treat your drill with respect:
1. Start SLOW, Stay Slow (Especially at First!): Always begin at the lowest speed setting. Increase speed only if necessary and only as much as needed. High speeds generate heat and friction quickly, which can painfully burn the nail bed.
2. Light Touch is EVERYTHING: Let the drill bit do the work. Apply ZERO to minimal pressure. The weight of the drill itself is often enough. Pressing too hard causes friction burns, damages the nail layers (causing weakness and peeling), and can be very painful.
3. Keep it Moving: Never hold the spinning bit stationary in one spot on your nail. Constantly move it back and forth or in small circles. Holding it still creates intense, damaging heat in one spot.
4. Know Your Bits & Their Grit: Coarse bits remove material quickly (great for old gel) but are aggressive. Fine bits are for gentle smoothing and finishing. Match the bit and its grit (lower number = coarser) to the task. Never use a coarse bit on your natural nail plate.
5. Nail Plate is OFF-Limits for Aggressive Bits: When working on your natural nails, stick to fine-grit sanding bands, buffers, or fine diamond/ceramic bits only for light buffing. Avoid carbide bits directly on the natural nail.
6. Cuticle Work Requires Caution & Skill: If you intend to do cuticle work, invest in specifically designed fine-grit ceramic cuticle bits. Use the lowest speed setting, barely touch the skin, and move constantly. Practice extensively on a fake tip first! Over-filing cuticles leads to damage and infection risk.
7. Hygiene is Critical: Bits MUST be disinfected between uses, even on yourself. Wipe with 70%+ isopropyl alcohol thoroughly. Ideally, bits used near skin/cuticles should be sterilized (autoclaved) if possible. Never share bits without proper sterilization.
8. Practice Makes Perfect: Start practicing on old practice hands or cheap plastic nail tips long before you touch your own nails. Get a feel for the speed, the weight, and the light touch required.
9. Listen to Your Nails: If you feel ANY heat or discomfort, STOP IMMEDIATELY. You’re going too fast, pressing too hard, or using the wrong bit.
The Takeaway:
An electric nail drill is a fantastic tool for the dedicated nail art hobbyist, unlocking efficiency and precision in prep and shaping. By understanding what it is, choosing wisely (prioritize variable speed and low torque), and committing to safe, gentle technique (light touch, low speed, keep moving), you can harness its power safely to elevate your home manicures and pedicures. Remember: patience and practice are your best friends on this buzzing journey to nail art mastery! Happy (and safe) drilling!
Read also: Pretty Tips: Nail Beauty at the Salon & On Your Sofa